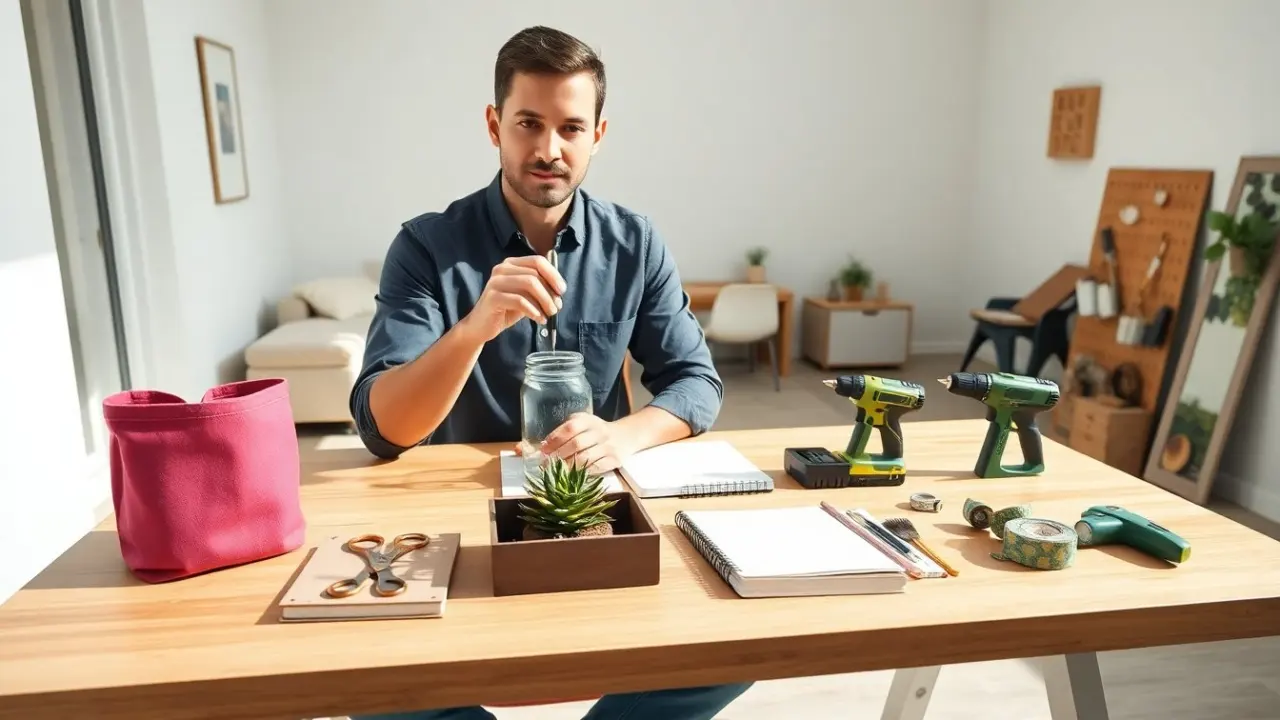
diy things to do when bored give people simple ways to fill free time, learn a new skill, and lift their mood. The list below groups projects by time and effort so you can pick something that fits the moment. Each idea uses common materials and clear steps so you can start quickly; many have easy variations to adapt for kids, gifts, or decorating. Whether you want a five-minute craft, a focused hour, or a weekend build, these projects help you turn idle time into something useful and satisfying.
Key Takeaways
- DIY things to do when bored offer quick crafts and bigger projects that fit any skill level and available time.
- Simple materials and clear instructions make it easy to start creative activities like painted mason jars or a no-sew T-shirt tote.
- Choosing projects based on skill, time, and cost helps build confidence before tackling larger DIY builds.
- Safety gear, organized workspaces, and proper cleanup are essential for enjoyable and secure DIY sessions.
- DIY projects when bored can improve mood, reduce waste, and add lasting value to your home environment.
10 Quick Creative DIY Activities You Can Start In 15–30 Minutes
- Painted Mason Jars
Paint mason jars with acrylic paint or glass paint to make pen holders, small vases, or bathroom organizers. Clean and dry jars first, apply one or two thin coats of paint, and let them dry between coats. Seal the finish with clear spray or Mod Podge if you expect moisture or handling. Variations include ombre, polka dots, or labeling with chalkboard paint for seasonal swaps.
- Washi-Tape Notebook Cover
Cover a plain notebook or journal with washi tape in stripes, chevrons, or a simple border. Start by lining up tape along the edges, smoothing out bubbles, and trimming excess with scissors or a craft knife. Add a coordinating label or sticker to personalize. This project is great for kids and requires only tape and a steady hand.
- No-Sew T-Shirt Tote
Turn an old T-shirt into a tote bag without sewing. Cut off the sleeves and neckline to form handles, then cut matching slits along the bottom hem and tie corresponding front and back fringes in knots to close the base. For extra strength, double-knot or braid the fringe before tying. This takes minimal tools and makes a washable market bag or beach carryall.
- Clay Jewelry Dish
Use air-dry or oven-bake clay to press a small jewelry dish. Roll a ball, flatten it in your palm or press into a shallow bowl for shape, then smooth edges with a damp fingertip. After drying or baking, sand any rough spots and paint a simple pattern or seal with varnish. These make fast gifts and showcase rings and earrings neatly on a dresser.
- Succulent Coffee Cup Planter
Plant a small succulent in a clean old coffee cup for an instant windowsill accent. Add a layer of pebbles or broken pottery at the bottom for drainage, then a small amount of cactus or succulent soil and the plant. Place in bright, indirect light and water sparingly. Label the cup with the plant name or a painted design to personalize it.
- Photo Collage Frame
Create a small photo collage on cardstock and slide it into an inexpensive frame. Arrange photos by size and color balance before gluing, or create a layered look with washi tape corners. Change photos seasonally or for celebrations; this is an easy way to refresh decor and keep memories visible without a big framing project.
- DIY Scented Drawer Sachets
Make scented sachets from small fabric squares or recycled fabric scraps. Fill with dried lavender, rice, or oats mixed with a few drops of essential oil, then sew or tie the pouch closed. Place sachets in drawers or closets to freshen linens, or tuck one into a gym bag. You can decorate the outside with a stamped initial or tiny button.
- Cord Wraps from Elastic Bands
Create neat cord wraps using elastic hair ties, fabric scraps, or Velcro strips. Coil the cord, then secure it with the wrap and label each wrap with a small piece of tape or marker if you have multiple chargers. This quick fix keeps cables tidy in drawers or travel pouches and prevents tangles when packing.
- Button Art Greeting Card
Glue colorful buttons in a simple shape—flower, heart, or tree—on a blank card. Use a strong craft glue and allow ample drying time, then write a thoughtful message inside. Button art adds texture and charm to homemade cards and is a kid-friendly craft with lots of creative possibilities.
- Upcycled Tins for Desk Storage
Clean old tins, remove labels, and cover them with decorative paper, fabric, or paint to make desk organizers. Add a felt base to protect surfaces, or glue several tins together for a tiered caddy. These make attractive storage for pens, brushes, or small tools and turn waste into useful home items.
Each activity fits within 15–30 minutes and uses low-cost materials you likely already have. Many projects include simple personalization ideas or ways to scale up if you have more time. They make fast gifts, practical home upgrades, or quick mood-boosting tasks suitable for beginners and kids under supervision.
Bigger DIY Projects To Tackle On A Rainy Afternoon Or Weekend
- Floating Shelf Install
Measure the wall and mark studs before cutting and finishing a shelf. Choose a sturdy board, cut to length, sand, and finish with paint or stain. Install brackets level and secure to studs, then set the shelf and check for stability. Use appropriate anchors for drywall-only installations and consider pre-finishing the shelf for easier installation on the day.
- Pallet Coffee Table
Break down a pallet and join planks with screws or wood glue to build a coffee table. Reinforce corners with scrap wood, sand thoroughly, and add casters or fixed feet for mobility or stability. Finish with stain, paint, or a clear coat for durability. This project teaches basic woodworking steps—measuring, cutting, joining, and finishing—and can be completed in a day with basic tools.
- Macramé Wall Hanging
Cut cotton rope to length and knot it into patterns on a wooden dowel or branch. Learn a few basic knots—square knot, lark’s head, and half hitch—and combine them into a textured design. Trim and shape the fringe for a polished edge and consider adding beads or dyed rope for color variation. This project is portable and relaxing, suitable for an afternoon of repetitive, meditative work.
- Simple Planter Box
Cut four sides and a base from cedar or pine, pre-drill holes to prevent splitting, and screw the pieces together. Line the box with landscape fabric if you plan to use soil directly, and add drainage holes if needed. Finish with non-toxic outdoor paint or a waterproof sealant, then plant herbs or flowers. This build is a great introduction to basic carpentry and outdoor finishing techniques.
- Reupholster a Chair Seat
Remove the old fabric and inspect the padding and springs. Cut new foam and batting to size, then stretch and staple new fabric to the underside of the seat. Trim excess fabric for a clean look and reattach the seat to the chair frame. Choose durable fabric for high-use furniture and consider replacing old screws or brackets during the process.
- Basic Floating Desk
Attach a thick board to wall-mounted brackets at a comfortable height to create a compact floating desk. Plan for cable management by drilling a tidy hole or adding a small grommet, and finish the surface with paint or clear coat. Make sure brackets are anchored to studs and that the desk load capacity matches your intended use for monitors or printers.
- Tile a Small Backsplash
Measure the area and lay out tiles to plan cuts and pattern before applying adhesive. Use a notched trowel to spread thinset, press tiles in place with spacers for even grout lines, and grout after the adhesive cures. Wipe grout haze with a damp sponge and seal grout for longevity. Small backsplashes are approachable starter tiling projects that dramatically update a kitchen or laundry area.
- Build a Birdhouse
Cut pieces to a simple plan, assemble with exterior screws or nails, and drill an entrance hole sized for local birds. Paint or finish with a weatherproof coating, leaving ventilation and drainage gaps. Mount on a pole or post away from predators and check that the house has a removable panel or roof for seasonal cleaning. This project combines basic cutting, assembly, and finishing skills with wildlife-friendly design.
- Create a Gallery Wall
Lay out frames on the floor to experiment with arrangements before hanging. Measure and mark placement on the wall, hang at eye level, and use a level and proper anchors for heavier frames. Mix frame styles and mat sizes for visual interest, and include small shelves or ledges to change displays easily. A gallery wall updates a room and lets you rotate art, photos, and keepsakes over time.
- Sewing a Simple Throw Pillow
Cut fabric squares with seam allowance, sew three sides with a straight stitch, insert stuffing to the desired loft, and finish the final seam by hand or machine. Add a zipper, buttons, or envelope closure for removable covers that can be washed. Experiment with texture and trim—piping or tassels—to match room decor. A weekend can yield multiple pillows in coordinating fabrics.
These projects typically take a few hours to a full weekend depending on complexity and drying or curing times. Most require basic tools such as a drill, saw, measuring tools, and optionally a sewing machine for textile projects. Tackling these diy things to do when bored projects builds practical skills—measuring, cutting, finishing, and problem solving—while producing lasting home improvements.
Essential Materials, Time Estimates, And Simple Safety Tips For DIY Sessions
Materials to Keep on Hand
Keep a basic tool kit with a hammer, adjustable wrench, screwdrivers, tape measure, utility knife, and level. Store a cordless drill and a small set of drill bits, sandpaper in various grits, clamps, a selection of screws and nails, wood glue, and a small saw for larger work. For crafts, maintain paintbrushes, a small paint roller, painter’s tape, glue (PVA and hot glue), craft scissors, and basic sewing supplies. Having a few spare containers for mixing paint or holding screws keeps projects moving smoothly.
Time Estimates
Plan short projects for 15–30 minutes, medium projects for 1–4 hours, and reserve full-day or weekend time blocks for builds that require drying, curing, or assembly. Allocate extra buffer time for measuring, cutting, or unexpected fixes. Breaking a larger task into stages—prep, assembly, finish—helps you predict how many sessions you’ll need and keeps momentum when working across multiple days.
Safety Tips
Wear safety glasses when cutting, drilling, or sanding and use ear protection during loud tasks. Wear appropriate gloves for handling sharp tools, splinters, or chemicals, and use a dust mask when sanding or mixing powders. Keep a first-aid kit nearby and have a fire extinguisher accessible if you’re using heat tools. Read product labels for ventilation needs when using paints, solvents, or adhesives and ensure children and pets are kept away from active work areas. Secure workpieces with clamps and unplug power tools when changing bits or blades.
Workspace Tips
Set up a flat, clean surface with good light and ventilation. Lay down a drop cloth or craft mat when painting, staining, or gluing to protect floors and furniture. Organize materials before starting so tools are within reach, and keep a small bin for scraps to simplify cleanup. Good lighting and a comfortable working height reduce strain and improve accuracy for measuring and cutting.
Waste and Cleanup
Dispose of paint chips, old batteries, and used adhesives according to local guidelines at appropriate centers when required. Clean brushes, rollers, and tools promptly to extend tool life, and reuse clean containers for mixing or storage. Store leftover materials labeled with contents and date so you can reuse them for future diy things to do when bored projects instead of buying duplicates.
Choosing Projects
Pick projects based on your current skill level, available time, and material cost. Try a short diy things to do when bored project first to build confidence before moving to larger tasks; this approach reduces frustration and teaches incremental skills. Keep a running list of ideas and materials so when boredom hits you can choose a satisfying, achievable project that fits the time you have.
These guidelines help people plan safe, efficient DIY sessions, reduce waste, and prevent injury. Thoughtful preparation and sensible safety practices make projects more enjoyable and increase the likelihood you’ll complete them and try more advanced diy things to do when bored in the future.